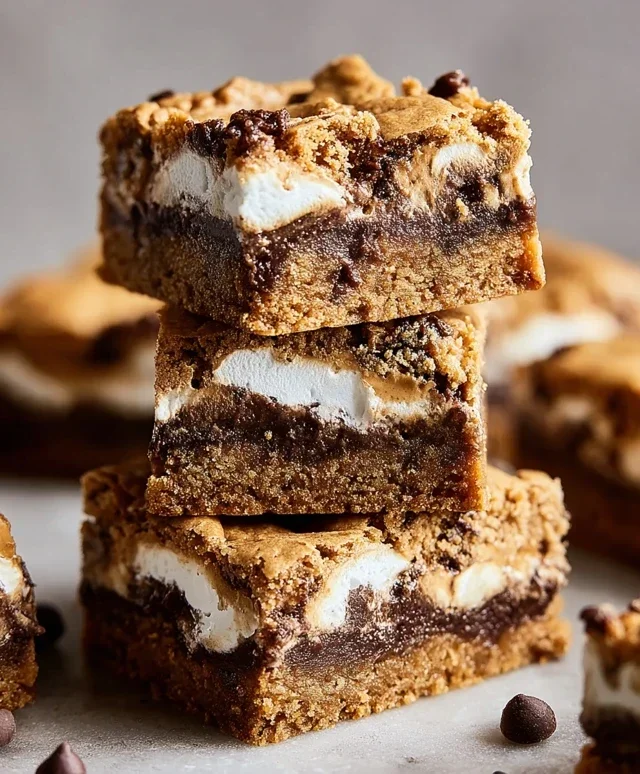
Keto Peanut Butter Chocolate Fat Bombs Deliciously Low Carb
Keto Peanut Butter Chocolate Fat Bombs are the ultimate revelation for anyone navigating the low-carb lifestyle and craving a truly decadent treat. Forget those chalky, unsatisfying sugar-free alternatives; these little powerhouses are packed with rich, creamy goodness that will have your taste buds singin extractg. I absolutely adore how these keto peanut butter chocolate fat bombs deliver such intense flavor and satisfying texture without derailing your progress. What makes them so incredibly special is the perfect harmony of nutty peanut butter and deep, dark chocolate, all enveloped in a luscious, melt-in-your-mouth format. They’re the ideal way to curb those sweet cravings, boost your energy, and feel utterly spoiled. Prepare to fall head over heels for this simple yet extraordinary low-carb delight!
Why You’ll Love Them
The Perfect Sweet Fix
If you’re anything like me, sometimes the sweet tooth hits hard, and you need something that feels like a real indulgence. These keto peanut butter chocolate fat bombs are my go-to. They’re incredibly easy to whip up, making them perfect for those moments when you need a quick, satisfying bite. The combination of creamy peanut butter and rich chocolate is a classic for a reason, and when you can enjoy it guilt-free on a keto diet, it’s a win-win.
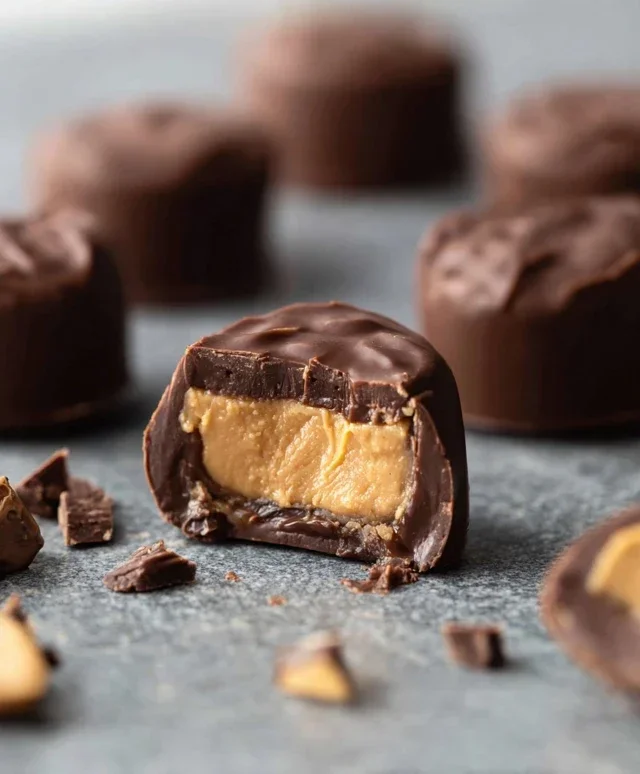
Keto Peanut Butter Chocolate Fat Bombs – A Rich, Satisfying Low-Carb Treat
When that sweet craving hits, especially on a ketogenic diet, reaching for a permissible, delicious treat can feel like a superpower. These Keto Peanut Butter Chocolate Fat Bombs are exactly that: a rich, satisfying, and incredibly simple low-carb indulgence that will become your new best friend. They’re packed with healthy fats, have a delightful balance of creamy peanut butter and decadent chocolate, and require absolutely no baking. Plus, they’re so easy to customize! Whether you need a quick energy boost, a dessert to share (or not share!), or just a little something to get you through a tough afternoon, these fat bombs have got your back.
Let’s get started with what you’ll need to create this magical treat.
Ingredients:
Crafting Your Delicious Fat Bombs
The beauty of these fat bombs lies in their simplicity. Most of the work involves melting and mixing, making them perfect for even the most novice of cooks.
Step 1: Prepare Your Workspace and Equipment
Before you begin extract melting and mixing, it’s a good idea to get your “assembly line” ready. Line a baking sheet or a plate with parchment paper or a silicone baking mat. This will prevent the fat bombs from sticking once they start to firm up. You’ll also want to have your candy molds or ice cube trays ready if you’re using them for shaping. Small silicone molds work wonderfully, creating perfectly portioned treats. If you don’t have molds, don’t worry! You can also simply drop spoonfuls of the mixture onto your prepared baking sheet, though they might be a bit less uniform in shape.
Step 2: Gently Melt Your Fats
In a medium saucepan or a heatproof bowl set over a double boiler (a bowl placed over simmering water, ensuring the bottom of the bowl doesn’t touch the water), combine the natural peanut butter, coconut oil, and optional unsalted butter or ghee. Heat this mixture gently, stirring occasionally, until everything is completely melted and smooth. The key here is to melt it gently to avoid scorching the peanut butter or the coconut oil. If you’re using unrefined coconut oil, you’ll notice a distinct coconut aroma and flavor, which can be delightful. If you prefer a more neutral taste, opt for refined coconut oil. The butter or ghee is optional but adds a wonderful richness and can contribute to a slightly smoother, less brittle texture once the fat bombs are chilled.
Step 3: Incorporate the Dry Ingredients
Once your fats are beautifully melted and combined, remove the saucepan from the heat. Now, it’s time to whisk in the unsweetened cocoa powder or cacao powder and the powdered keto sweetener. Whisk vigorously until there are no lumps of cocoa powder and the sweetener has completely dissolved into the warm fat mixture. This is where using powdered sweetener really shines; it incorporates much more smoothly than granulated versions, ensuring a pleasant texture. If you notice any slight graininess, continue whisking for another minute or two. Next, add the vanilla extract and the pinch of sea salt. The sea salt is crucial; it doesn’t make the fat bombs salty, but rather it amplifies the flavors of the peanut butter and chocolate, creating a more complex and satisfying taste profile.
Step 4: Add Your Optional Mix-Ins and Stir
If you’re feeling adventurous or want to add an extra layer of flavor and texture, now is the time to stir in your optional add-ins. Sugar-free chocolate chips will add little pockets of melted chocolatey goodness. Chopped peanuts will provide a satisfying crunch and intensify the peanut butter flavor. Unsweetened coconut flakes can add a subtle chegrape juicess and a tropical note. Stir everything gently to distribute the add-ins evenly throughout the mixture. Don’t overmix at this stage; just ensure everything is well incorporated.
Step 5: Portion and Chill Your Fat Bombs
Now for the fun part: shaping your fat bombs! Carefully pour or spoon the mixture into your prepared candy molds or ice cube trays. If you don’t have molds, simply drop spoonfuls onto your parchment-lined baking sheet. Fill the molds or create dollops of your desired size. Remember that these are potent and rich, so smaller portions are often best. Once filled, place the baking sheet or trays into the refrigerator for at least 1-2 hours, or until the fat bombs are completely firm. You can also speed up the process by popping them into the freezer for about 30-45 minutes.
Step 6: Finishing Touches and Storage
Once your fat bombs are firm and ready to go, you can gently pop them out of their molds. If you didn’t use molds, they should easily peel off the parchment paper. For an extra touch of elegance and flavor, you can sprinkle a tiny pinch of flaky sea salt on top of each fat bomb or give them a light dusting of cocoa powder. This adds a professional finish and an extra pop of flavor. Store your completed Keto Peanut Butter Chocolate Fat Bombs in an airtight container in the refrigerator. They will keep well for up to two weeks. On warmer days, or if your kitchen tends to be warm, you might want to store them in the freezer to ensure they maintain their shape. Enjoy these delightful low-carb treats whenever you need a guilt-free indulgence!
Conclusion:
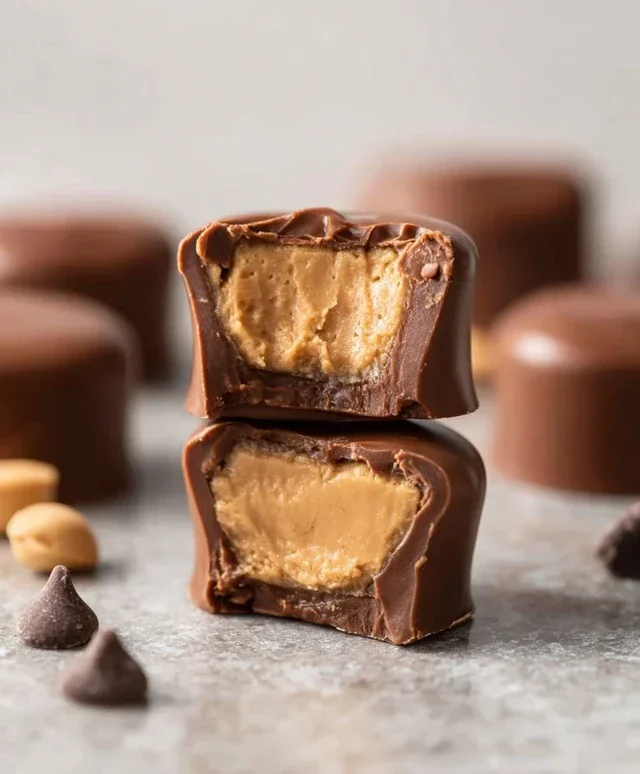
There you have it – a simple yet incredibly decadent recipe for Keto Peanut Butter Chocolate Fat Bombs that truly hits the spot when that sweet craving strikes! These delightful little treats are a game-changer for anyone following a ketogenic lifestyle, offering rich flavor and satisfying fats without derailing your progress. The combination of creamy peanut butter and intense dark chocolate is a classic for a reason, and knowing you can indulge in such a low-carb confection is pure bliss. I love having a batch ready in the freezer for those moments when I need a quick energy boost or a guilt-free dessert.
Beyond just enjoying them straight from the fridge or freezer, these fat bombs are wonderfully versatile. They’re perfect for a quick afternoon snack, a post-workout reward, or even a special treat to share (if you can resist eating them all yourself!). For a little extra flair, consider drizzling them with a bit more melted sugar-free chocolate before they set, or topping them with a sprinkle of sea salt for a delightful sweet and salty contrast. Don’t be afraid to experiment with different nut butters too – almond butter or even tahini can offer a unique twist.
I truly encourage you to give these Keto Peanut Butter Chocolate Fat Bombs a try. They are incredibly easy to make, require minimal ingredients, and the reward of a delicious, keto-friendly treat is immense. I’m confident they’ll become a staple in your keto recipe repertoire.
Frequently Asked Questions:
Can I make these fat bombs ahead of time?
Absolutely! These fat bombs are perfect for making ahead. Once they’ve set, you can store them in an airtight container in the refrigerator for up to a week, or in the freezer for several months. They are best enjoyed chilled.
What kind of peanut butter is best to use?
For the most keto-friendly results, I recommend using natural, unsweetened peanut butter. Look for brands where the only ingredient is peanuts, or peanuts and salt. This ensures there are no added sugars or carbohydrates that could take you out of ketosis.
Can I use a different type of sweetener?
Yes, you can certainly substitute the sweetener. Erythritol, xylitol (be cautious if you have pets as xylitol is toxic to dogs), or monk fruit sweetener are all good low-carb options. Adjust the amount to your personal preference for sweetness.
Keto Peanut Butter Chocolate Fat Bombs
Rich and satisfying low-carb treats perfect for a sweet craving.
Ingredients
-
1/2 cup natural peanut butter (unsweetened, no added oils)
-
1/4 cup coconut oil
-
2 tablespoons unsweetened cocoa powder
-
3 tablespoons powdered keto sweetener
-
1 teaspoon vanilla extract
-
Pinch of sea salt
-
Optional: 2 tablespoons sugar-free chocolate chips
Instructions
-
Step 1
Melt coconut oil gently in a small saucepan over low heat or in the microwave in short bursts. -
Step 2
In a medium bowl, combine melted coconut oil, natural peanut butter, unsweetened cocoa powder, powdered keto sweetener, vanilla extract, and a pinch of sea salt. -
Step 3
Stir until thoroughly combined and smooth. If using, gently fold in sugar-free chocolate chips. -
Step 4
Spoon the mixture into silicone molds (mini muffin or candy molds work well). -
Step 5
Freeze for at least 15-20 minutes, or until firm. -
Step 6
Once firm, pop out of molds and store in an airtight container in the refrigerator or freezer.
Important Information
Nutrition Facts (Per Serving)
It is important to consider this information as approximate and not to use it as definitive health advice.
Allergy Information
Please check ingredients for potential allergens and consult a health professional if in doubt.