Brown Butter Brookies – Decadent Chocolate Chip Blondie Brownie Swirl
Brown Butter Brookies are the ultimate decadent dessert, and for good reason! If you’re anything like me, the idea of a perfect marriage between a chewy chocolate chip cookie and a fudgy brownie is pure bliss. These aren’t just any brookies; the magic truly lies in the brown butter. That nutty, caramelized aroma that fills your kitchen as the butter gently cooks is simply non-intoxicating, and it elevates every single bite of these brown butter brookies to a whole new level of deliciousness. We’re talking about a dessert that boasts the best of both worlds: the crisp edges and soft center of a cookie, swirled with the intense richness of a brownie. This recipe takes that classic combination and infuses it with an unparalleled depth of flavor, making these brown butter brookies an absolute showstopper that’s guaranteed to disappear in minutes. Prepare to impress yourself and everyone you share them with!
Brown Butter Brookies
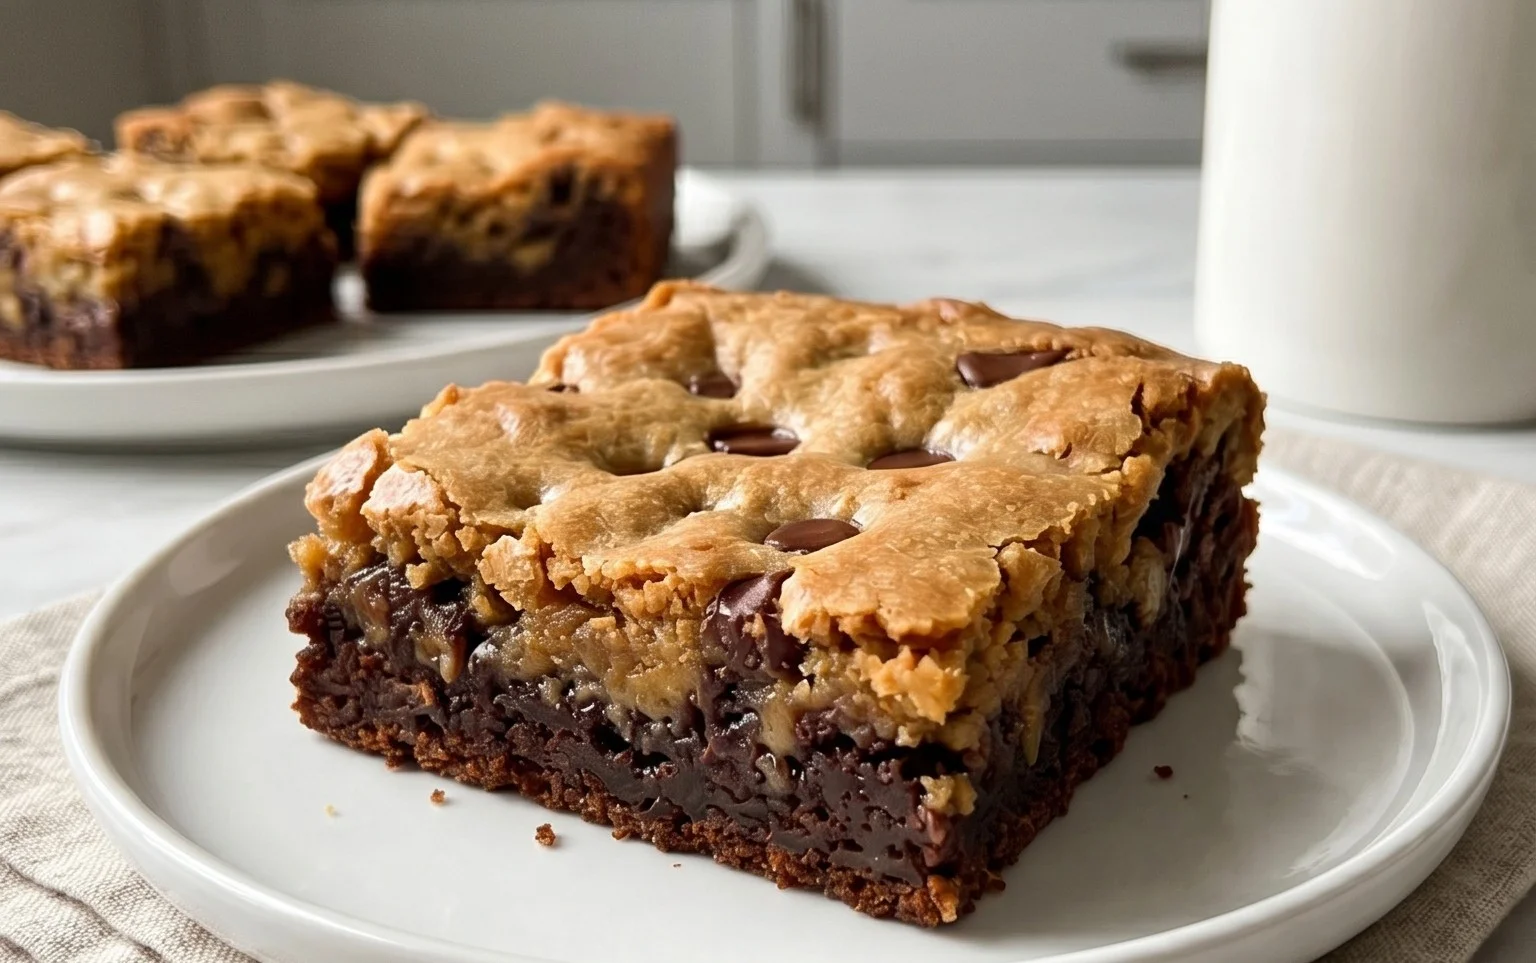
Get ready for a dessert revelation! We’re diving into the glorious world of brookies – that magical fusion of a chewy brownie and a decadent chocolate chip cookie. But we’re not stopping there. Today, we’re elevating this classic combo with the irresistible nutty aroma and deep flavor of brown butter. Brown butter, my friends, is a game-changer, transforming simple ingredients into something truly extraordinary. The process of browning butter might sound intimidating, but it’s surprisingly straightforward and the payoff is immense. This recipe is designed to be achievable for home bakers, and the result is a rich, fudgy brownie base topped with a perfectly chewy, golden brown butter cookie layer, studded with melty chocolate. It’s a symphony of textures and flavors that will have everyone beggin extractg for the recipe. Prepare yourselves for pure, unadulterated dessert bliss.
Ingredients:
Instructions:
Part 1: Crafting the Decadent Brownie Base
1. Begin extract by preparing your baking pan. I like to use a 9×13 inch baking pan, but a similarly sized pan will work beautifully. Line it with parchment paper, leaving an overhang on the sides. This will make lifting the brookies out of the pan much easier once they’re baked and cooled. Preheat your oven to 175°C (350°F).
2. Now for the magic that starts it all – the brownie batter. In a heatproof bowl set over a saucepan of simmering water (a double boiler setup), melt the 180g of butter and 320g of chopped chocolate together. Stir occasionally until smooth and glossy. Alternatively, you can do this in the microwave in 30-second intervals, stirring between each, until melted and smooth. Once melted, remove the bowl from the heat and let it cool slightly for a few minutes.
3. In a separate medium bowl, whisk together the 120g of all-purpose flour, 50g of cocoa powder, 2g of salt, 180g of granulated sugar, and 80g of brown sugar. Whisking these dry ingredients together ensures they are evenly distributed, which leads to a more consistent brownie texture.
4. To the slightly cooled chocolate and butter mixture, add the 4 eggs, one at a time, whisking well after each addition until fully incorporated. It might look a little glossy and separated at first, but keep whisking, and it will come together. This is crucial for achieving that fudgy brownie texture. Once the eggs are incorporated, gradually add the dry ingredients to the wet ingredients, folding them in gently with a spatula until just combined. Be careful not to overmix here; overmixing can lead to tough brownies. If you’re adding chocolate chunks, gently fold them in now. Pour this rich brownie batter into your prepared baking pan and spread it evenly.
Part 2: Creating the Golden Brown Butter Cookie Topping
5. While the brownie batter is chilling slightly or waiting to be baked, let’s get started on the star of the show: the brown butter cookie topping. In a medium saucepan over medium heat, melt the 80g of butter. Continue to cook, swirling the pan occasionally, until the butter turns a rich golden brown color and smells nutty and aromatic. Watch it closely, as it can go from perfectly browned to burnt very quickly. You’ll see tiny brown flecks forming at the bottom of the pan, and the butter will foam up before settling. This is the essence of brown butter flavor! Immediately pour the browned butter into a heatproof bowl (to stop the cooking process) and let it cool for about 10-15 minutes.
6. Once the browned butter has cooled slightly, add the 80g of brown sugar, 40g of granulated sugar, and 1g of salt to the bowl with the browned butter. Whisk vigorously until well combined and the mixture is smooth. Then, whisk in the 1 egg until fully incorporated. This will create a lovely, thick cookie dough base.
7. Now, add the 85g of all-purpose flour to the brown butter mixture. Stir with a spatula until just combined. Again, be careful not to overmix. The dough will be quite thick and sticky.
Part 3: Assembling and Baking the Brookies
8. Dollop spoonfuls of the brown butter cookie dough over the brownie batter in the prepared pan. You don’t need to be perfectly neat; some rustic blobs are exactly what we want for that signature brookie look. Use your fingertips or the back of a spoon to gently spread the cookie dough to cover most of the brownie batter, leaving some areas where the brownie might peek through. This visual contrast adds to the appeal.
9. Bake the brookies in your preheated oven at 175°C (350°F) for 30-35 minutes. The brownie layer should be set but still slightly fudgy in the center, and the cookie topping should be golden brown and appear cooked through. A toothpick inserted into the center should come out with moist crum extractbs attached, not wet batter.
10. Allow the brookies to cool completely in the pan on a wire rack. This is probably the hardest part, but it’s essential for the brookies to set properly. Rushing this step will result in a gooey mess. Once completely cooled, use the parchment paper overhangs to lift the entire block out of the pan. Cut into squares and prepare to be amazed! These brookies are best enjoyed at room temperature, allowing all those incredible flavors to shine.
Conclusion:
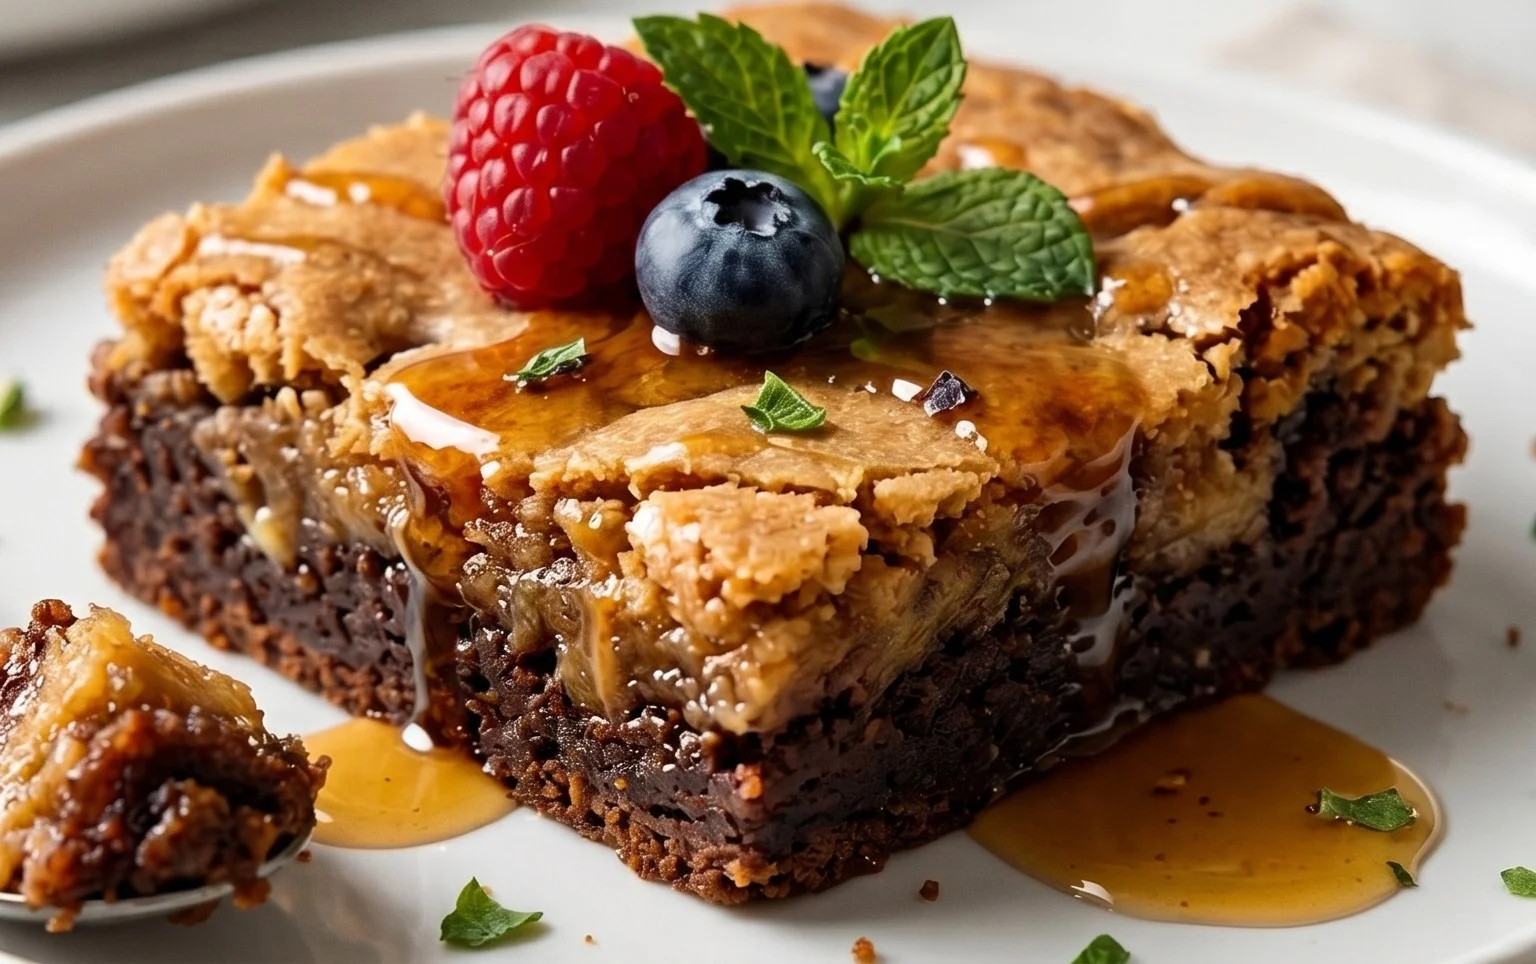
And there you have it – the ultimate guide to creating these incredibly decadent brown butter brookies! This recipe truly takes the best of both worlds, combining the rich, nutty depth of perfectly browned butter with the gooey, fudgy texture of a classic brownie, all layered with a chewy, golden blondie. The result is a symphony of flavors and textures that’s simply irresistible. I truly believe these brown butter brookies are a showstopper, perfect for any occasion, from a casual get-together to a special celebration. Don’t hesitate to whip up a batch; I promise you won’t regret it!
For serving, I love them slightly warm, perhaps with a scoop of vanilla bean ice cream for an extra layer of indulgence. They’re also fantastic at room temperature, making them an ideal treat to bring to a potluck or share with friends. Feel free to get creative with variations! You could add a swirl of raspberry jam to the blondie layer for a fruity tang, or sprinkle some sea salt on top before baking to enhance the sweetness. Chopped nuts, like walnuts or pecans, are also a wonderful addition for an extra crunch.
Frequently Asked Questions:
How do I know when my butter is perfectly browned?
Browning butter is a delicate art! You’ll want to melt your butter over medium heat, then let it simmer. It will foam, and you’ll see tiny brown bits forming at the bottom of the pan. Swirl it occasionally. Once you smell a nutty, toasty aroma and see golden-brown specks, it’s ready. Be careful not to burn it, as it can turn bitter very quickly.
Can I make these ahead of time?
Absolutely! Brown butter brookies are fantastic made a day in advance. In fact, I find the flavors meld even more beautifully overnight. Store them in an airtight container at room temperature, and they’ll remain wonderfully moist and delicious.
My brookies are a little dry. What went wrong?
Overbaking is the most common culprit for dry brookies. Keep a close eye on them towards the end of the baking time. A toothpick inserted into the brownie portion should come out with moist crum extractbs, not completely clean. The blondie portion might still look slightly underbaked, but it will continue to set as it cools.
Brown Butter Brookies
A decadent fusion of rich brown butter chocolate chip cookies and fudgy brownies, creating a two-layered bar of pure indulgence.
Ingredients
-
180 g unsalted butter
-
320 g semi-sweet chocolate, chopped
-
120 g all-purpose flour
-
50 g unsweetened cocoa powder
-
180 g granulated sugar
-
80 g light brown sugar
-
2 g salt
-
4 large eggs
-
120 g chocolate chunks or chips (optional)
-
85 g unsalted butter
-
80 g light brown sugar
-
40 g granulated sugar
-
1 g salt
-
1 large egg
Instructions
-
Step 1
Brown the 180g butter in a saucepan over medium heat until fragrant and nutty. Let cool slightly. In a large bowl, combine the cooled brown butter with 320g chopped semi-sweet chocolate and melt together. Stir until smooth. -
Step 2
In a separate bowl, whisk together 120g all-purpose flour, 50g cocoa powder, 180g granulated sugar, 80g light brown sugar, and 2g salt. Add this dry mixture to the melted chocolate and butter mixture. Beat in 4 large eggs one at a time until just combined. -
Step 3
Gently fold in 120g chocolate chunks or chips, if using. Spread this brownie batter evenly into a parchment-lined 9×13 inch baking pan. -
Step 4
For the cookie layer: Melt 85g butter in a saucepan. Stir in 80g light brown sugar and 40g granulated sugar until combined. Remove from heat and let cool slightly. -
Step 5
In a small bowl, whisk together 85g all-purpose flour, 1g salt. Add the flour mixture to the brown butter and sugar mixture. Stir in 1 large egg until just combined. The cookie dough will be soft. -
Step 6
Dollop small spoonfuls of the cookie dough over the brownie batter. Gently spread the cookie dough to cover the brownie layer as much as possible without mixing them completely. -
Step 7
Bake in a preheated oven at 350°F (175°C) for 25-30 minutes, or until the edges are set and a toothpick inserted into the center comes out with moist crumbs (not wet batter). -
Step 8
Let cool completely in the pan on a wire rack before cutting into bars.
Important Information
Nutrition Facts (Per Serving)
It is important to consider this information as approximate and not to use it as definitive health advice.
Allergy Information
Please check ingredients for potential allergens and consult a health professional if in doubt.