Easy Chocolate Protein Pudding Recipe-Healthy Treat
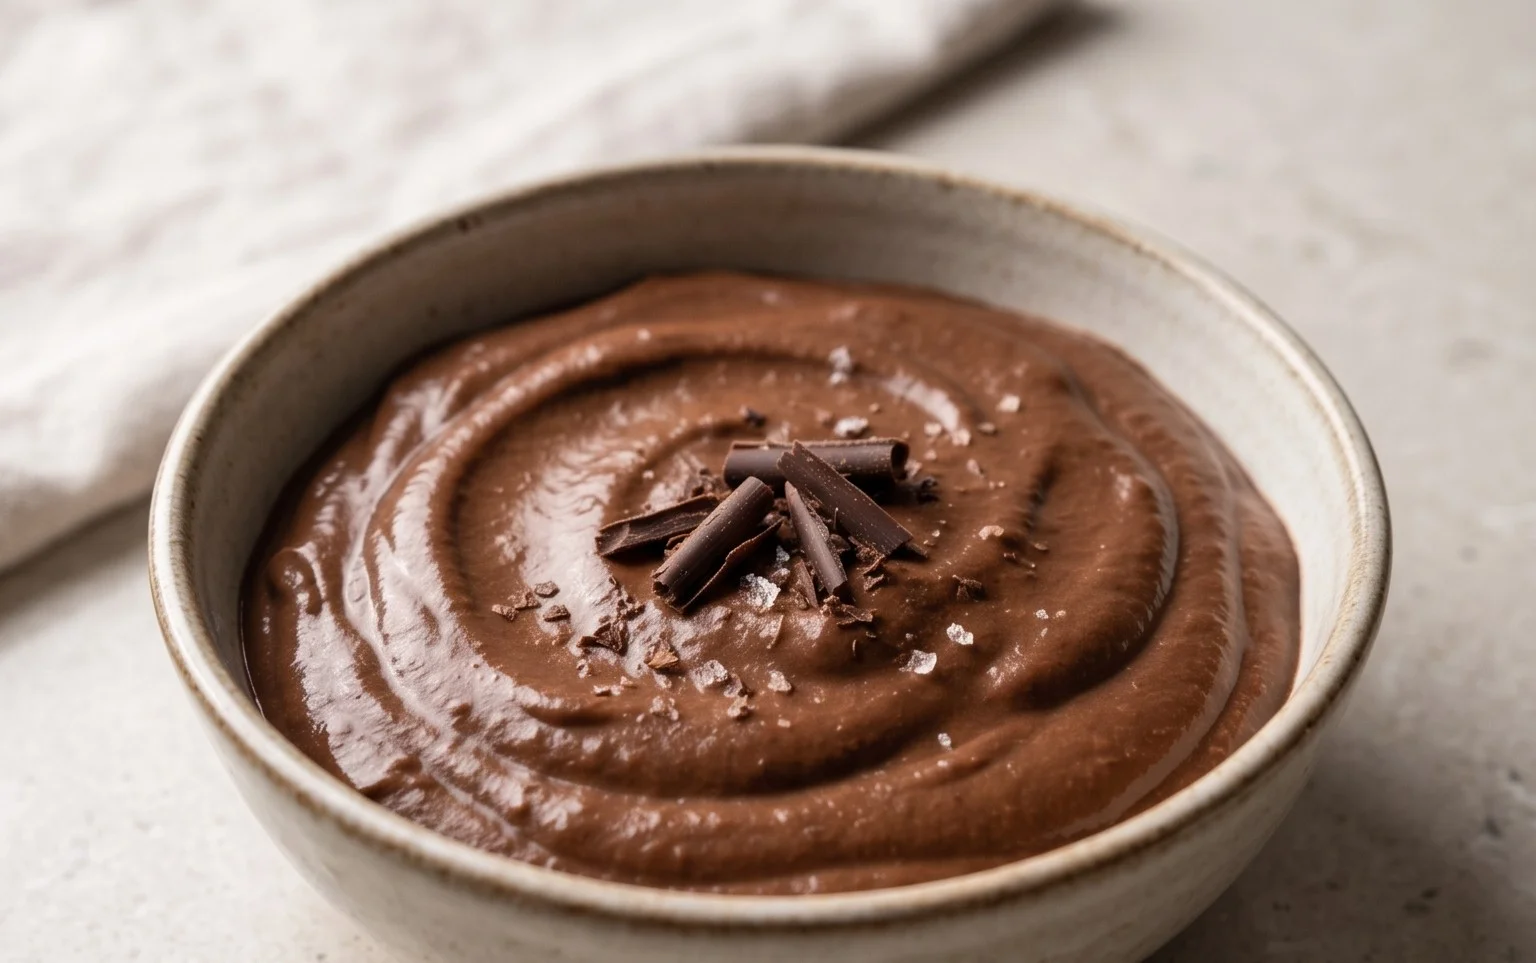
Chocolate Protein Pudding is more than just a dessert; it’s a guilt-free indulgence that satisfies your sweet tooth while fueling your body. We all crave that moment of pure chocolate bliss, but what if that moment could also contribute to your fitness goals? That’s precisely the magic of this Chocolate Protein Pudding recipe. Forget chalky, unappetizing protein snacks – this pudding is luxuriously smooth, decadently rich, and tastes like you’ve stumbled upon a secret indulgence meant only for the most discerning palates.
Why do we adore this treat so much? It’s the ultimate cbeef hameleon: perfect as a post-workout recovery meal, a satisfying afternoon pick-me-up, or even a healthy dessert that won’t derail your progress. What truly sets this Chocolate Protein Pudding apart is its incredible versatility and how effortlessly it transforms simple ingredients into something extraordinary. You’ll be amazed at how a few key components can create such a deeply satisfying flavor and texture, proving that healthy eating can, and should, be delicious.
Chocolate Protein Pudding Recipe
Are you looking for a delicious, guilt-free treat that satisfies your sweet tooth and keeps you fueled? Look no further! This Chocolate Protein Pudding is my go-to when I need a quick, healthy dessert or a post-workout recovery snack. It’s incredibly easy to make, requiring no cooking or baking, and the results are consistently decadent and satisfying. Forget those chalky, overly processed protein bars or artificial-tasting shakes; this pudding is the real deal. It’s creamy, rich, and packed with protein to help you feel full and energized. Plus, it’s so versatile – you can enjoy it on its own, top it with your favorite fruits, or even use it as a base for more elaborate desserts.
The secret to its incredible texture and flavor lies in the combination of creamy Greek yogurt and rich cocoa powder, elevated by the sweetness of maple syrup and the subtle warmth of vanilla extract. The protein powder is the star, transforming a simple dessert into a nutrient-dense powerhouse. I love using a good quality chocolate protein powder, as it really enhances the overall chocolatey experience.
Let’s dive into what you’ll need to create this delightful treat!
Ingredients:
Creating Your Chocolate Protein Pudding
This recipe is designed for simplicity and speed. You’ll be amazed at how quickly you can whip up a batch of this satisfying pudding. There’s no complex technique involved, just a few steps to combine these wonderful ingredients into a smooth, luscious dessert.
Step 1: Gather and Measure Your Ingredients
The first step to any successful recipe is organization. Before you begin extract mixing, take a moment to gather all your ingredients and measure them out accurately. Having everything ready to go will make the process seamless. For the Greek yogurt, you can use either plain or vanilla. If you opt for plain, the vanilla extract and maple syrup will be crucial for sweetness and flavor. If you choose vanilla Greek yogurt, you might want to taste the pudding towards the end of mixing and adjust the maple syrup to your preference, as vanilla yogurt already contains some sweetness. For the chocolate protein powder, the exact amount per scoop can vary between brands, so aim for roughly 2 to 3 tablespoons per scoop to ensure you have enough protein and chocolate flavor. Unsweetened cocoa powder is key here for a deep, rich chocolate taste. High-quality cocoa powder will make a noticeable difference in the final flavor.
Step 2: Combine the Base Ingredients
In a large mixing bowl, add the 5 cups of Greek yogurt. This forms the creamy foundation of our pudding. If you’re using plain Greek yogurt, now is a good time to add the 1 teaspoon of vanilla extract. This will infuse the pudding with that classic vanilla aroma and taste that complements chocolate so beautifully. Next, add the 3 tablespoons of unsweetened cocoa powder. If you are a serious chocolate lover like me, and want an even more intense chocolate flavor, you can go ahead and add the full 4 tablespoons here. You can always add more cocoa powder later if you feel it needs it, but it’s harder to take it away once it’s mixed in. Ensure your cocoa powder is free of lumps by giving it a quick whisk or sifting it before adding it to the yogurt.
Step 3: Gradually Incorporate the Protein Powder
This is where the magic happens. Add the 4 scoops of chocolate protein powder to the bowl. It’s important to add the protein powder gradually, rather than all at once. This helps to prevent clumps and ensures a smooth, even consistency throughout the pudding. Start by adding one scoop and gently stirring it into the yogurt and cocoa mixture. Continue this process, adding one scoop at a time and mixing thoroughly after each addition. You’ll notice the mixture will start to thicken as the protein powder is incorporated. Be patient here; thorough mixing at this stage is crucial for a silky-smooth pudding. If you find the mixture becoming too thick to stir easily, you can add a tablespoon of milk (dairy or non-dairy) or a splash of water to help loosen it up.
Step 4: Sweeten and Adjust Flavor
Once all the protein powder has been incorporated, it’s time to add the sweetener. Pour in the 2 tablespoons of maple syrup. Maple syrup adds a lovely depth of sweetness without the sharp, artificial taste that some other sweeteners can impart. Stir this in thoroughly until it’s fully combined. Now is the perfect time to taste your pudding! Use a clean spoon to sample the mixture. This is your opportunity to adjust the sweetness and chocolate intensity to your liking. If it’s not sweet enough for your palate, you can add another teaspoon or two of maple syrup. If you desire a more intense chocolate flavor, you can add the remaining tablespoon of cocoa powder, or even a bit more if you’re feeling daring, mixing it in thoroughly. Remember that the flavors will also meld and deepen as the pudding chills, so don’t be afraid to slightly under-sweeten if you plan to let it sit for a while.
Step 5: Chill and Serve
Once you are happy with the taste and consistency, it’s time to let the pudding work its magic in the refrigerator. Spoon the chocolate protein pudding into individual serving dishes, or place it in one larger container. Cover the dishes tightly with plastic wrap or lids to prevent a skin from forming on top and to keep it fresh. Place the pudding in the refrigerator for at least 30 minutes. This chilling time is essential not only for allowing the flavors to meld and intensify but also for the pudding to set to its ideal pudding-like consistency. The longer it chills, the thicker and more pudding-like it will become. I often make a batch in the morning and enjoy it in the afternoon, or even prepare it the night before for a quick breakfast or snack. Serve chilled and enjoy!
This Chocolate Protein Pudding is a testament to how healthy eating can be incredibly delicious. It’s a perfect example of a simple recipe that delivers big on flavor and nutrition. Enjoy every spoonful!
Conclusion:
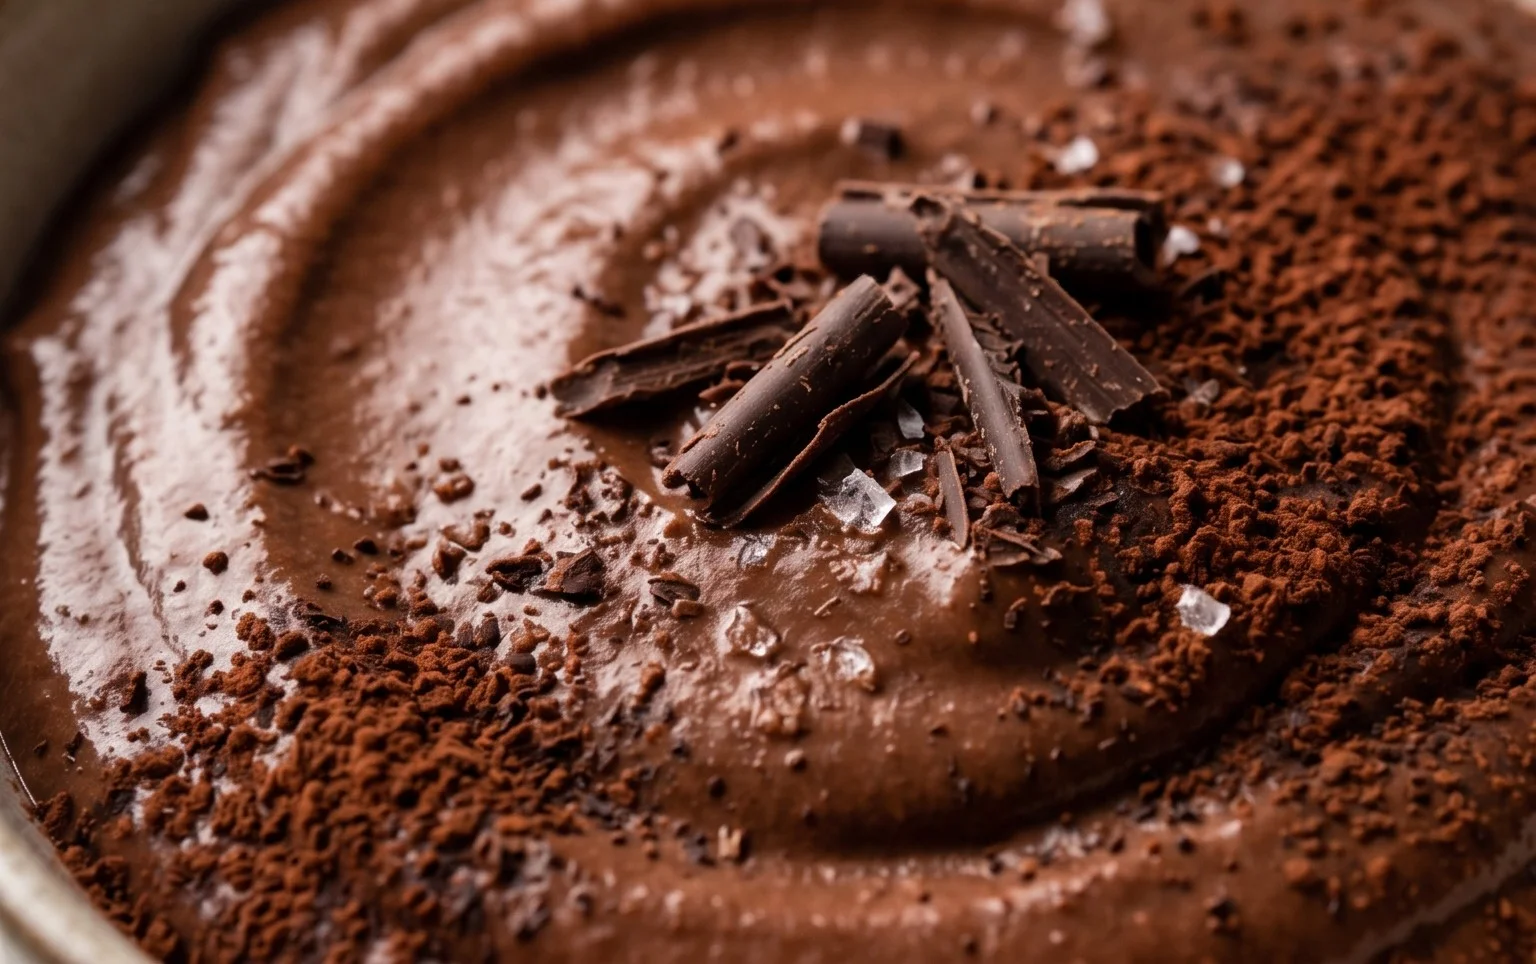
And there you have it – your very own delicious and incredibly easy Chocolate Protein Pudding! This recipe is truly a game-changer for anyone looking for a guilt-free, satisfying dessert or a post-workout recovery treat. It’s wonderfully customizable, packed with protein to keep you feeling full and energized, and requires minimal effort for maximum flavour payoff. I love how rich and creamy it turns out, making it feel like a real indulgence without derailing healthy eating goals. Get ready to impress yourself (and anyone you share it with!) with this fantastic chocolatey creation.
For serving, I often enjoy it chilled straight from the fridge. You can top it with fresh berries like raspberries or strawberries for a burst of freshness, a sprinkle of chopped nuts for added crunch, or even a dollop of Greek yogurt for an extra protein boost and tang. If you’re feeling adventurous, try adding a dash of cinnamon or a pinch of chili powder for a Mexican hot chocolate twist! Don’t be afraid to experiment and find your perfect Chocolate Protein Pudding combination. Give this recipe a go – I promise you won’t regret it!
Frequently Asked Questions:
Can I use a different type of protein powder?
Absolutely! While I find whey protein works best for texture, you can experiment with plant-based protein powders like pea or soy. Keep in mind that plant-based powders can sometimes have a different consistency, so you might need to adjust the liquid slightly to achieve your desired pudding-like texture.
Is this recipe suitable for vegans?
Yes, with a small modification! If you use a vegan protein powder and a dairy-free milk (like almond, oat, or soy milk), this recipe is perfectly vegan. You’ll get the same delicious chocolatey goodness!
How long does the pudding last in the refrigerator?
This Chocolate Protein Pudding typically stays fresh in an airtight container in the refrigerator for about 3-4 days. The texture might slightly thicken over time, but it should remain delicious.
Chocolate Protein Pudding
A quick and easy high-protein chocolate pudding, perfect for a healthy dessert or snack.
Ingredients
-
5 cups Greek yogurt (full-fat, plain or vanilla)
-
4 scoops chocolate protein powder
-
3 to 4 tablespoons unsweetened cocoa powder
-
1 teaspoon vanilla extract
-
2 tablespoons maple syrup
Instructions
-
Step 1
In a large bowl, combine the Greek yogurt, chocolate protein powder, and unsweetened cocoa powder. -
Step 2
Mix thoroughly until all ingredients are well combined and there are no clumps of powder. -
Step 3
Add the vanilla extract and maple syrup to the mixture. -
Step 4
Stir until the pudding is smooth and creamy. -
Step 5
Taste and adjust sweetness or cocoa powder as desired. -
Step 6
Spoon the pudding into individual serving dishes or a larger container. -
Step 7
Chill in the refrigerator for at least 30 minutes before serving to allow it to thicken.
Important Information
Nutrition Facts (Per Serving)
It is important to consider this information as approximate and not to use it as definitive health advice.
Allergy Information
Please check ingredients for potential allergens and consult a health professional if in doubt.