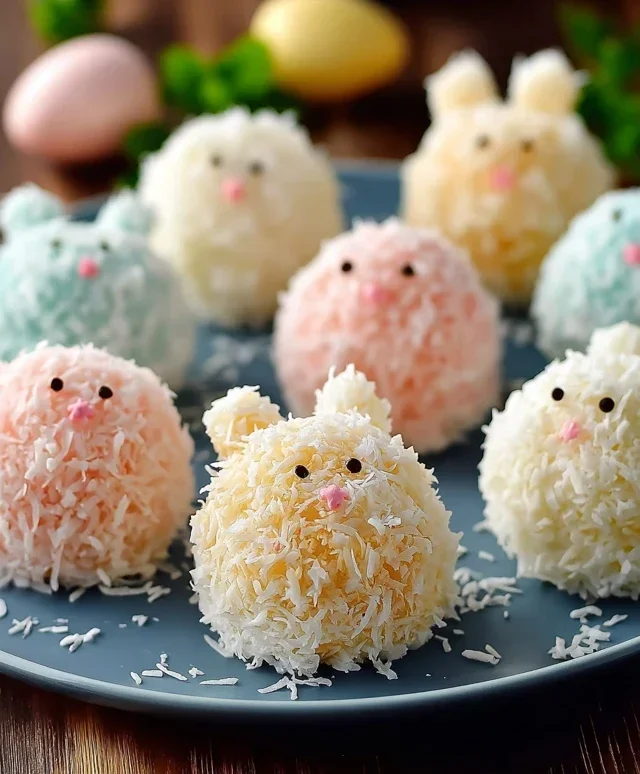
Easter Bunny Coconut Tails-Sweet Treats
Easter Bunny Coconut Tails are a delightful and surprisingly simple treat that perfectly captures the whimsical spirit of spring. Imagin extracte tiny, snow-white bunny tails, each coated in sweet, shredded coconut, ready to hop right into your Easter celebrations! These aren’t just any Easter dessert; they’re a delightful little surprise that brings smiles to faces of all ages. I absolutely adore making these Easter Bunny Coconut Tails because they’re so customizable and always a crowd-pleaser. They’re that perfect bite-sized indulgence that balances a delicate sweetness with a satisfying chew, and the visual appeal is undeniable. What truly makes them special is their versatility – you can easily add a touch of food coloring to the coconut for pastel tails or even roll them in sprinkles for extra festive flair. Get ready to whip up some magic and impress your loved ones with these charming, no-bake delights that are sure to become an Easter tradition.
Easter Bunny Coconut Tails
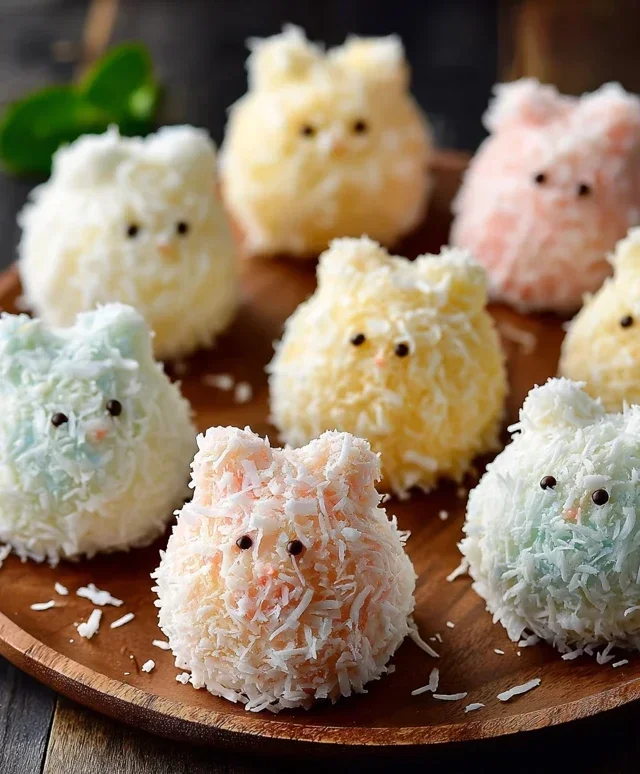
Easter is a time for joy, family, and of course, delicious treats! These adorable Easter Bunny Coconut Tails are a delightful way to celebrate the season. They’re simple to make, incredibly sweet and chewy, and the kids will have a blast helping to decorate them. Imagin extracte a platter filled with these fluffy white tails, each tipped with a delicate pink bow – they’re almost too cute to eat! But trust me, they are absolutely worth indulgin extractg in.
This recipe is a fantastic option for a fun Easter baking project. The base is a no-bake, wonderfully chewy coconut candy, and the decoration is where the real magic happens. We’ll melt some white chocolate to coat the “tails” and then get creative with candy melts to add that signature bunny touch. Let’s get started on creating these festive delights!
Ingredients:
Cooking Instructions:
Here’s how we’ll bring these sweet Easter treats to life, step by step.
Step 1: Preparing the Chewy Coconut Base
The foundation of our Easter Bunny Coconut Tails is a wonderfully simple and delightfully chewy coconut mixture. To begin extract, we need to melt our butter and marshmallows together. In a medium, microwave-safe bowl, combine the ¼ cup of butter and the 1½ cups of mini marshmallows. Place this bowl in the microwave and heat on high power in 30-second intervals, stirring well after each interval. You’re looking for the marshmallows to be completely melted and smooth. Be patient with this process; it might take a couple of intervals. Overheating can make the marshmallows tough, so gentleness is key. Once melted and smooth, carefully remove the bowl from the microwave.
Step 2: Incorporating the Coconut and Flavor
Now, it’s time to bring in the star of our show: the coconut! To the melted marshmallow and butter mixture, add the 2 cups of shredded coconut and the 1 teaspoon of vanilla extract. The vanilla extract adds a beautiful aroma and a subtle depth of flavor that perfectly complements the sweetness of the marshmallows and the tropical notes of the coconut. Stir everything together thoroughly until the shredded coconut is completely coated in the marshmallow mixture. It will be a sticky, clumpy mass at this stage, and that’s exactly what we want. Ensure every bit of coconut is integrated; this will help create the cohesive texture of our tails.
Step 3: Shaping the Coconut Tails
Once your coconut mixture is well combined and still warm (but cool enough to handle safely), it’s time to shape our bunny tails. You can lightly grease your hands with a little butter or cooking spray to prevent sticking, or work with a small cookie scoop for uniformity. Take about 1 to 2 tablespoons of the coconut mixture at a time and roll it into an oval or slightly elongated ball shape, resembling a fluffy bunny tail. You can make them as big or as small as you like, but a bite-sized portion is usually ideal for this kind of treat. As you shape them, place them on a baking sheet lined with parchment paper or wax paper. This will prevent them from sticking to the surface as they cool and firm up.
Step 4: Creating the White Chocolate Coating
Now for the creamy coating that will give our coconut tails a polished look. We’ll be using white chocolate for this. Place the 1 cup of white chocolate chips in a microwave-safe bowl. Heat in the microwave in 30-second intervals, stirring well after each interval until the chocolate is smooth and completely melted. Be careful not to scorch the white chocolate, as it can burn easily. Alternatively, you can use a double boiler for a more controlled melting process. Once the white chocolate is smooth and glossy, you can begin extract dipping your coconut tails.
Step 5: Dipping and Decorating the Tails
With your white chocolate melted and your coconut tails ready, it’s time for the decorating! You can either dip each coconut tail halfway into the melted white chocolate, allowing the excess to drip off, or you can use a fork to gently hold each tail and dip it completely. If you’re going for a full coat, make sure to let any excess chocolate drip back into the bowl before placing it back on the parchment-lined baking sheet.
Now for the fun part – the pink candy melts! You’ll need to melt your pink candy melts according to the package directions, typically in the microwave in short intervals, stirring frequently until smooth. Once melted, you can use a small piping bag with a fine tip, a toothpick, or even just a spoon to drizzle or draw little bows onto the white chocolate-coated coconut tails. You can create a simple bow shape, or get more intricate if you’re feeling artistic. For a simpler approach, you can just make a few pink dots to represent the bunny’s rear end! Let the white chocolate and candy melt decorations set completely. This can be done at room temperature, or for faster setting, you can pop the baking sheet into the refrigerator for about 10-15 minutes.
These Easter Bunny Coconut Tails are a delightful addition to any Easter celebration. They are perfect for Easter baskets, a festive dessert table, or even as a sweet gift for friends and family. Enjoy the process of making them, and most importantly, enjoy the delicious results!
Conclusion:
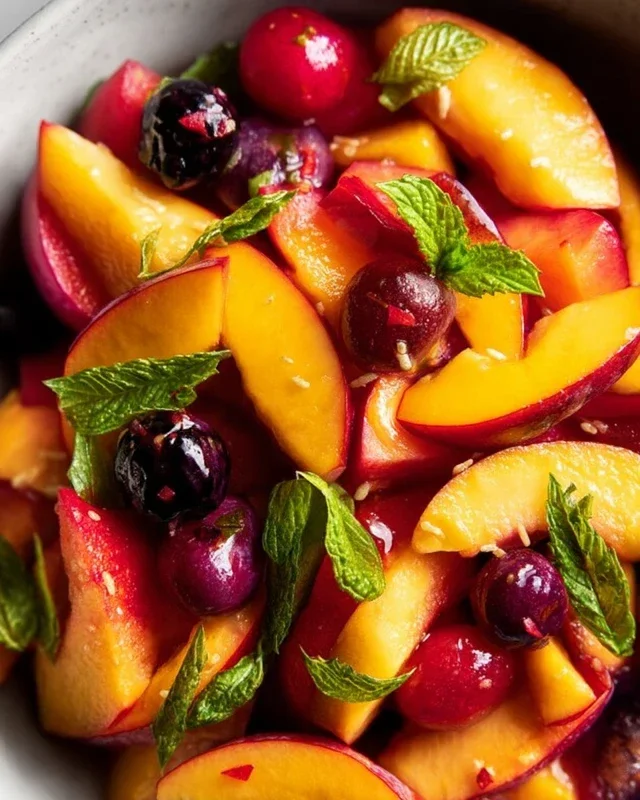
There you have it! These Easter Bunny Coconut Tails are truly a delightful and whimsical treat, perfect for adding a touch of homemade charm to your Easter celebrations. Their simple yet delicious combination of chewy coconut and a sweet, velvety coating makes them an absolute crowd-pleaser, guaranteed to bring smiles to faces young and old. The ease of preparation means you can whip up a batch without stress, leaving you more time to enjoy the festivities. I’ve found they are particularly wonderful served alongside a fresh fruit salad or as a sweet ending to an Easter brunch. Don’t be afraid to get creative with variations; a sprinkle of edible glitter, a drizzle of coloured white chocolate, or even adding a pinch of lemon zest to the coconut mixture can elevate these treats even further. I wholeheartedly encourage you to give these Easter Bunny Coconut Tails a try – they are a guaranteed hit and a joy to make and share!
Frequently Asked Questions:
Can I make these coconut tails ahead of time?
Absolutely! These Easter Bunny Coconut Tails can be made a day or two in advance. Store them in an airtight container at room temperature to maintain their texture. If the weather is very warm, a short stint in the refrigerator might be a good idea, but ensure they come back to room temperature before serving for the best taste and texture.
What if I don’t have shredded coconut? Can I use sweetened or unsweetened?
For the best texture and flavor in these coconut tails, I recommend using finely shredded sweetened coconut. The sweetness from the coconut complements the other ingredients perfectly. If you only have unsweetened, you might need to slightly increase the sugar in the recipe to achieve a similar level of sweetness. You can also experiment with different grinds of coconut, but finely shredded generally yields the most tender results.
Are there any nut-free alternatives for this recipe?
These Easter Bunny Coconut Tails are naturally nut-free as long as you ensure all your ingredients, including the chocolate or candy coating, are processed in nut-free facilities. Always check packagin extractg for allergen information if you have severe nut allergies. The core recipe relies on coconut, which is a seed and not a tree nut, making it a great option for many households.
Easter Bunny Coconut Tails
Sweet and festive coconut tails perfect for Easter, made with shredded coconut, marshmallows, and white chocolate, decorated with pink candy melts.
Ingredients
-
2 cups shredded coconut
-
1½ cups mini marshmallows
-
¼ cup butter
-
1 teaspoon vanilla extract
-
1 cup white chocolate chips
-
Pink candy melts for decoration
Instructions
-
Step 1
In a saucepan, melt the butter over low heat. Add the mini marshmallows and stir until completely melted and smooth. -
Step 2
Remove from heat and stir in the vanilla extract. -
Step 3
Add the shredded coconut to the marshmallow mixture and stir until well combined and coated. -
Step 4
Shape the mixture into tail shapes. You can use your hands to form small ovals or slightly elongated shapes. -
Step 5
In a microwave-safe bowl, melt the white chocolate chips in 30-second intervals, stirring in between, until smooth. -
Step 6
Dip one end of each coconut tail into the melted white chocolate, letting any excess drip off. -
Step 7
Place the dipped tails on parchment paper to set. -
Step 8
Melt the pink candy melts according to package directions. Drizzle or pipe onto the white chocolate dipped end of the tails for decoration. -
Step 9
Allow the candy melts to set completely before serving.
Important Information
Nutrition Facts (Per Serving)
It is important to consider this information as approximate and not to use it as definitive health advice.
Allergy Information
Please check ingredients for potential allergens and consult a health professional if in doubt.