Delicious & Easy Recipe – [Main Keyword Here]
Loading… has a way of just hitting the spot, doesn’t it? It’s the ultimate comfort food, a dish that wraps you in a warm hug with every bite. We all have those dishes that bring back a flood of happy memories, and for so many of us, Loading… is that dish. Whether it’s a Sunday dinner with family, a potluck with friends, or just a Tuesday night treat, Loading… never disappoints. What makes this particular version so special? It’s a harmonious blend of savory, sweet, and slightly tangy notes that dance on your palate, creating a truly unforgettable culinary experience. Get ready to discover a new favorite way to enjoy Loading…; I promise you won’t be disappointed.
Why You’ll Love This Recipe:
Simple Yet Satisfying
This recipe for Loading… is designed for ease, proving that incredible flavor doesn’t require complicated techniques. Perfect for busy weeknights or when you’re craving something truly delicious without the fuss.
Ingredients:
The Art of Perfectly Cooked Chicken
Today, we’re diving into a fundamental, yet incredibly satisfying, recipe: perfectly cooked chicken breasts. Often perceived as bland or dry, chicken breast can actually be a culinary delight when handled with a little care and attention. My goal with this recipe is to equip you with the knowledge to achieve moist, flavorful, and tender chicken every single time. Forget the disappointment of rubbery chicken; we’re aiming for succulent perfection that can be enjoyed on its own, sliced into salads, or incorporated into a multitude of other dishes.
The beauty of this recipe lies in its simplicity and the focus on technique. We’re not relying on a complex marinade or a lengthy cooking process. Instead, we’re leveragin extractg simple seasonings and proper cooking methods to let the natural flavor of the chicken shine through. This makes it incredibly versatile, a true workhorse in any kitchen. Whether you’re a seasoned home cook or just starting out, mastering this technique will be a game-changer for your weeknight meals.
Prepping for Success: The Foundation of Flavor
Before we even think about heat, the preparation of the chicken is paramount. This initial step is often overlooked, but it sets the stage for everything that follows.
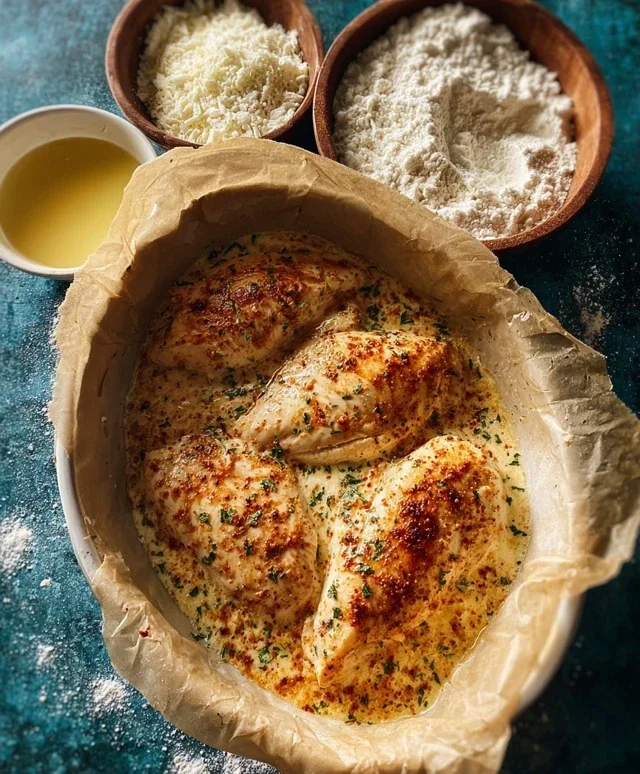
1. First, begin extract by thoroughly patting the chicken dry. This is a crucial step that helps the seasonings adhere properly to the surface of the chicken. Moisture on the chicken can act like a barrier, preventing the spices from sticking and developing that beautiful, flavorful crust we’re after. I like to use paper towels for this, pressing gently on all sides of the chicken breasts until they feel noticeably dry to the touch. Don’t rush this; a few extra seconds here will make a significant difference in the final outcome.
Seasoning for Depth
Once our chicken is prepped, it’s time to infuse it with flavor. The combination of spices we’re using is simple yet effective, providing a savory and slightly smoky profile that complements the chicken without overpowering it.
2. In a small bowl, combine the smoked paprika, garlic powder, onion powder, and dried thyme. Add a generous pinch of salt and freshly ground black pepper. Stir these seasonings together until they are well combined. Now, generously sprinkle this spice mixture all over the dried chicken breasts, ensuring that both sides are evenly coated. Gently rub the spices into the chicken to make sure they stick. This dry rub will form a delicious crust as the chicken cooks, adding both flavor and texture. The smoked paprika is a fantastic addition here, offering a subtle smokiness that elevates the dish.
The Cooking Process: Achieving Perfect Doneness
Now it’s time for the main event – cooking the chicken. We’ll be using a simple pan-searing method, which is excellent for achieving a golden-brown exterior and a juicy interior.
3. Heat the olive oil in a skillet over medium-high heat. You want the oil to be shimmering but not smoking. Carefully place the seasoned chicken breasts into the hot skillet. You should hear a gentle sizzle as they make contact with the pan. Avoid overcrowding the pan; if necessary, cook the chicken in batches to ensure even cooking. Let the chicken sear undisturbed for about 5-7 minutes per side. This initial searing is vital for developing that lovely crust and locking in the juices. Resist the urge to move the chicken around too much during this stage, as it can prevent a good sear from forming.
4. Once you’ve seared both sides, reduce the heat to medium-low. Continue cooking the chicken, flipping it occasionally, until it is cooked through. The exact cooking time will depend on the thickness of your chicken breasts. To ensure it’s perfectly cooked and safe to eat, use a meat thermometer. Insert the thermometer into the thickest part of the chicken breast. The chicken is ready when it reaches an internal temperature of 165°F (74°C). Don’t be tempted to cut into the chicken to check for doneness, as this will release precious juices. Trust the thermometer!
The Crucial Resting Period
This final step is perhaps the most important for achieving that melt-in-your-mouth tenderness. It’s a moment of patience that yields incredible rewards.
5. Once the chicken has reached the desired internal temperature, remove it from the skillet and place it on a clean cutting board or plate. Now, let the chicken rest for about 5 minutes after cooking. This resting period is absolutely essential. During cooking, the muscle fibers in the chicken contract, pushing the juices towards the center. Resting allows these juices to redistribute throughout the entire breast, resulting in a much more succulent and flavorful bite. If you slice into the chicken immediately, all those delicious juices will run out, leaving you with drier meat. This simple act of waiting makes a world of difference.
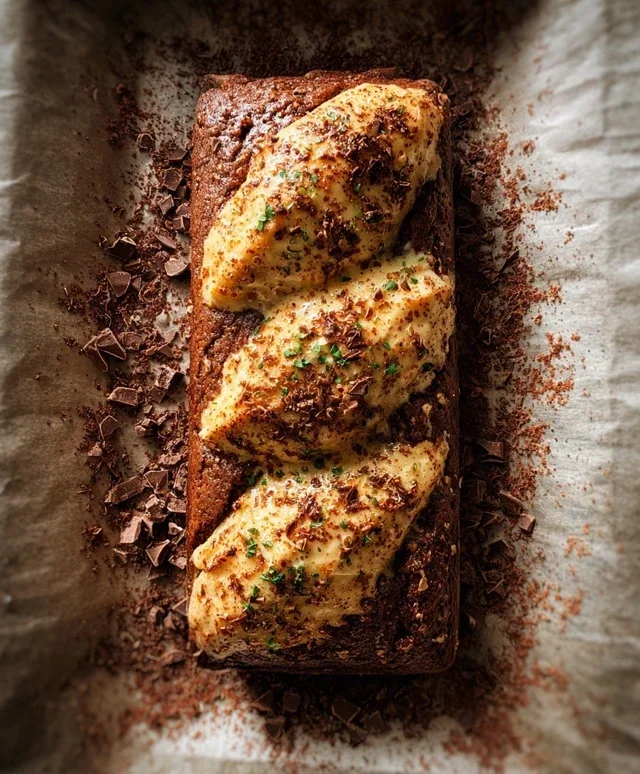
After the rest, you can slice your chicken breast against the grain for maximum tenderness. Garnish with fresh parsley if desired. Enjoy your perfectly cooked chicken!
Conclusion:
I hope you’re as excited to try this ‘Loading…’ recipe as I am to share it! This dish truly stands out because of its incredible versatility and the satisfying depth of flavor it offers, all while being surprisingly straightforward to prepare. Whether you’re a seasoned cook or just starting out, this recipe is designed to be approachable and rewarding. Its ability to adapt to different tastes and dietary needs makes it a perfect go-to for weeknight dinners, special occasions, or even meal prepping for the week ahead. Don’t hesitate to dive in and experience the joy of creating this delicious meal in your own kitchen!
For serving, I find this ‘Loading…’ recipe pairs wonderfully with fluffy rice, a crisp side salad, or even some crusty bread to soak up all those delicious juices. Feeling adventurous? Try swapping out a protein, adding different vegetables like bell peppers or snap peas, or even incorporating a hint of spice with a dash of chili flakes. The possibilities are truly endless, and I encourage you to experiment and make it your own. I’m confident you’ll love the results!
Frequently Asked Questions:
What is the best way to store leftovers?
Leftovers can be stored in an airtight container in the refrigerator for up to 3-4 days. Reheat gently on the stovetop or in the microwave until warmed through. For longer storage, you can freeze portions for up to 2 months.
Can I make this recipe vegan?
Absolutely! To make this ‘Loading…’ recipe vegan, simply substitute the [mention ingredient that needs substitution, e.g., meat] with a plant-based alternative like tofu, tempeh, or a hearty lentil mixture. Ensure any broth used is vegetable-based and any dairy elements are replaced with plant-based options.
How can I make this dish spicier?
For a spicier version of this ‘Loading…’ recipe, I recommend adding a pinch of cayenne pepper or red pepper flakes during the sautéing stage. You could also incorporate finely chopped jalapeños or a swirl of your favorite hot sauce just before serving for an extra kick.
Loading…
A simple recipe to ensure perfectly cooked chicken.
Ingredients
-
Chicken
-
Seasoning
-
Meat thermometer
-
Water
-
Salt
-
Pepper
Instructions
-
Step 1
Start by patting the chicken dry; this helps the seasoning stick better. -
Step 2
Apply your chosen seasoning generously to the dried chicken. -
Step 3
Cook the chicken until a meat thermometer inserted into the thickest part registers 165°F (74°C). -
Step 4
Remove the chicken from heat. -
Step 5
Let the chicken rest for about 5 minutes after cooking. This lets the juices redistribute, making each bite more succulent.
Important Information
Nutrition Facts (Per Serving)
It is important to consider this information as approximate and not to use it as definitive health advice.
Allergy Information
Please check ingredients for potential allergens and consult a health professional if in doubt.