Easy Homemade Strawberry Ice Cream Recipe
Homemade strawberry ice cream is more than just a dessert; it’s a journey back to sun-drenched afternoons and carefree childhood memories. There’s a magic that happens when you transform fresh, ripe strawberries into a creamy, dreamy frozen treat. We all love the unparalleled sweetness and vibrant flavor of store-bought strawberry ice cream, but nothing, absolutely nothing, compares to the pure bliss of a scoop of truly homemade strawberry ice cream made with your own two hands. What makes this recipe so special? It’s the simplicity, the ability to control the quality of ingredients, and the sheer satisfaction of creating something so incredibly delicious from scratch. Imagin extracte the burst of real strawberry flavor, the smooth, rich texture that melts perfectly on your tongue. This isn’t just ice cream; it’s a celebration of summer’s bounty, a taste of pure joy that’s surprisingly easy to achieve in your own kitchen.
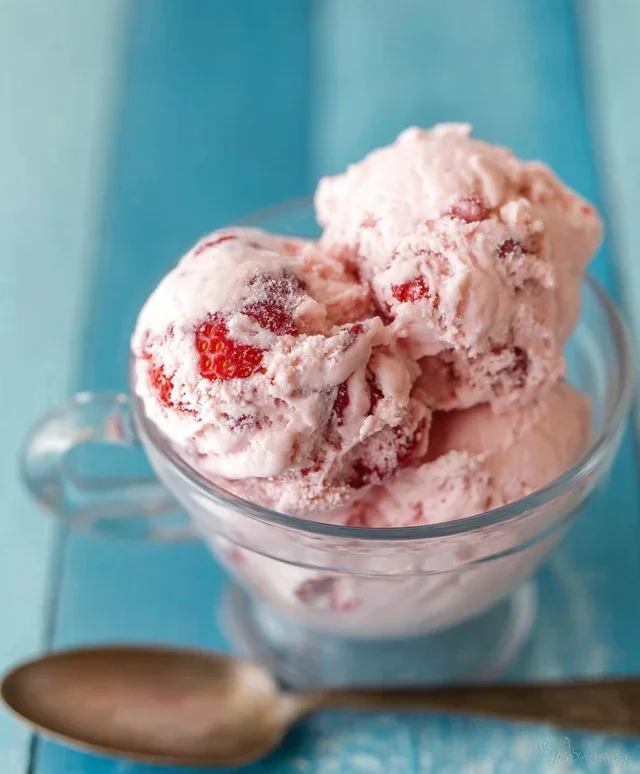
Homemade Strawberry Ice Cream
There’s something incredibly satisfying about making your own ice cream. And when it comes to classic, crowd-pleasing flavors, you can’t beat homemade strawberry ice cream. The vibrant, sweet-tart taste of fresh strawberries, churned into a creamy, luscious base, is pure summer bliss. Forget those store-bought tubs with their long lists of unpronounceable ingredients; this recipe uses just a handful of simple, wholesome components to create a truly exceptional treat. It’s surprisingly easy to make, and the results are so worth it. Imagin extracte scooping this gorgeous pink ice cream on a warm evening, the sweet strawberry aroma filling the air. Let’s get started on creating this delightful frozen masterpiece!
Ingredients:
Preparing the Strawberry Base
The foundation of any great strawberry ice cream is, of course, the strawberries themselves. We want to extract as much of their natural flavor and sweetness as possible. For this step, we’ll combine our diced strawberries with honey, granulated sugar, and a touch of lemon juice. The honey adds a lovely nuanced sweetness that complements the fruit, while the sugar provides the necessary structure and texture for our ice cream. The lemon juice isn’t just for brightness; it actually helps to enhance the strawberry flavor, making it pop.
Step-by-Step Instructions:
1. Macerate the Strawberries: In a medium bowl, combine the hulled and diced strawberries, honey, granulated sugar, and lemon juice. Stir everything together gently, ensuring the strawberries are well coated. Let this mixture sit at room temperature for at least 30 minutes, or up to an hour. This process, called maceration, allows the sugar and honey to draw out the juices from the strawberries, creating a delicious syrupy mixture. As they sit, give them another gentle stir or two. You’ll notice the strawberries starting to soften and release their vibrant red juices. This is exactly what we want! The longer they macerate, the more intense the strawberry flavor will become in the final ice cream.
2. Puree the Strawberry Mixture: Once the strawberries have macerated and released their juices, it’s time to create our smooth strawberry base. You have a couple of options here depending on your desired texture. For a super smooth ice cream with no strawberry seeds or pulp, transfer the entire strawberry mixture (including all the accumulated juice) to a blender or food processor. Blend until completely smooth. If you prefer a bit of texture, you can use an immersion blender directly in the bowl, or even mash the strawberries with a potato masher until you reach your desired consistency. I personally love it when it’s mostly smooth but still has a few tiny flecks of strawberry, so I often pulse it a few times in the blender to achieve that perfect balance.
3. Chill the Strawberry Puree: This is a crucial step for achieving the best ice cream texture. After pureeing, you want to ensure your strawberry base is thoroughly chilled. Transfer the strawberry puree into a clean bowl or a resealable container and place it in the refrigerator for at least 2 hours, or preferably until it’s very cold. You can even make this step the day before. The colder your base, the faster it will freeze when you churn it, resulting in smaller ice crystals and a smoother, creamier ice cream. Don’t rush this part; patience here will be rewarded with superior ice cream!
4. Combine with the Cream Base: Once your strawberry puree is nice and cold, it’s time to create the actual ice cream base. In a separate bowl, whisk together the heavy whipping cream, half and half, and vanilla extract until just combined. You don’t want to whip this mixture; we’re just incorporating the ingredients. Now, gently fold the chilled strawberry puree into the cream mixture. Stir until the two are well incorporated and you have a lovely, uniform pink color. Taste a small spoonful of the mixture at this point. This is your chance to adjust the sweetness if you desire. If your strawberries were particularly tart, you might want to add a touch more sugar or honey, but remember that the flavor will be slightly less intense once frozen.
5. Churn the Ice Cream: This is where the magic happens! Pour your prepared ice cream base into your ice cream maker, following the manufacturer’s instructions. This usually involves churning for about 20-30 minutes, or until the mixture has thickened to a soft-serve consistency. The exact time will vary depending on your machine. Keep an eye on it; you don’t want to over-churn, as this can lead to a more icy texture. The mixture should be thick enough to hold its shape but still pourable. If you don’t have an ice cream maker, you can still achieve a delicious result, though it will be more labor-intensive. You’ll pour the mixture into a shallow freezer-safe container and freeze it, stirring vigorously with a fork or whisk every 30-45 minutes for about 4-6 hours to break up ice crystals.
6. Harden the Ice Cream: Once your ice cream has been churned to that perfect soft-serve consistency, it’s time to let it firm up. Transfer the ice cream to a freezer-safe container. Press a piece of parchment paper or plastic wrap directly onto the surface of the ice cream to prevent ice crystals from forming. Seal the container tightly and place it in the freezer for at least 4-6 hours, or until it’s firm enough to scoop. The longer it freezes, the harder it will become. Allow it to sit at room temperature for a few minutes before scooping for the best texture. Enjoy the fruits of your labor – your homemade strawberry ice cream is ready to be savored!
Conclusion:
Making your own homemade strawberry ice cream is an incredibly rewarding experience, and this recipe makes it delightfully achievable! The magic lies in the freshness of real strawberries, creating a vibrant, naturally sweet flavor that store-bought versions can rarely match. It’s a perfect way to capture the essence of summer and impress your friends and family with your culinary skills. The creamy texture, combined with the bursts of sweet and tart strawberry goodness, is simply irresistible. Don’t be intimidated; this recipe is straightforward and yields exceptional results.
Serve scoops of this delightful ice cream on its own for a pure taste of strawberry bliss, or get creative! It’s fantastic alongside warm berry cobblers or crum extractbles, drizzled with a balsamic glaze for a sophisticated twist, or as the star of a strawberry shortcake. For variations, consider adding a hint of lemon zest for extra brightness, or swirl in some fresh basil for an unexpected and refreshing herbaceous note. You could even fold in a handful of chocolate chips for a delightful contrast. I truly encourage you to give this recipe a try; you’ll be so glad you did!
Frequently Asked Questions:
Can I make this without an ice cream maker?
Absolutely! While an ice cream maker makes the process smoother, you can achieve a delicious result without one. Pour the mixture into a freezer-safe container, freeze for about 45 minutes, then vigorously whisk to break up ice crystals. Repeat this whisking process every 30-45 minutes for 2-3 hours until the ice cream is firm but still scoopable. The texture might be slightly icier, but the flavor will still be fantastic.
How long does homemade strawberry ice cream last?
For the best flavor and texture, it’s recommended to consume your homemade strawberry ice cream within 1-2 weeks. Store it in an airtight container in the coldest part of your freezer to minimize freezer burn.
What kind of strawberries are best for this recipe?
Fresh, ripe, and in-season strawberries will yield the most intense and delicious flavor. If fresh strawberries are not available, good quality frozen strawberries can also be used. Just be sure to thaw them completely and drain any excess liquid before pureeing.
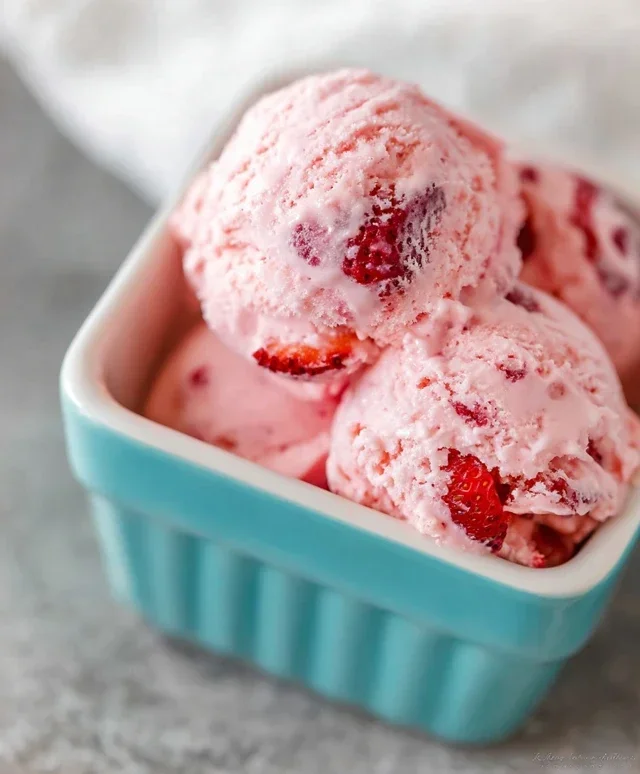
Homemade Strawberry Ice Cream
A classic, creamy homemade strawberry ice cream made with fresh ingredients.
Ingredients
-
1 1/2 cups strawberries, hulled and diced
-
2 Tbsp honey
-
1/2 cup granulated sugar
-
1 tsp lemon juice
-
1 cup heavy whipping cream
-
1/2 cup half and half
-
1 tsp vanilla extract
Instructions
-
Step 1
In a bowl, combine the diced strawberries, honey, granulated sugar, and lemon juice. Stir gently and let sit for about 15 minutes to macerate. -
Step 2
In a separate bowl, whisk together the heavy whipping cream, half and half, and vanilla extract until well combined. -
Step 3
Add the macerated strawberries (along with their juices) to the cream mixture. Stir gently to incorporate. -
Step 4
Pour the mixture into your ice cream maker and churn according to the manufacturer’s instructions. -
Step 5
Once churned, transfer the ice cream to a freezer-safe container. -
Step 6
Freeze for at least 2-4 hours, or until firm, before serving.
Important Information
Nutrition Facts (Per Serving)
It is important to consider this information as approximate and not to use it as definitive health advice.
Allergy Information
Please check ingredients for potential allergens and consult a health professional if in doubt.